

How to plant flower bulbs and corms in pots and in the garden
 המוצר מהמדריך זמין באתר
Red Amaryllis for planting – 1 bulb
25.00 ₪
Deco Garden Practical Guide
A good bulb is just the beginning. A well-drained pot, proper planting orientation, and watering according to the state of the medium help the corm or bulb get a start without rotting. This guide brings order, without giving one single rule for different species.
Before opening the bulb bag
First, read the instructions on the packaging and the product page. Planting depth, spacing, timing, and the need for pre-treatment vary between bulbs, corms, rhizomes, and from species to species. If it says to chill or soak — follow the instructions for that specific product; do not apply this automatically to all packs.
Check the material
A bulb or corm should be firm relative to its type. Remove anything very soft, rotten, or with an unusual odor, so as not to introduce rot into the container.
Identify the orientation
In a clear bulb, the pointed end usually faces up and the root base faces down. In corms and rhizomes, the shape differs; when unsure, check the packaging diagram.
Choose a location
Match the sunlight hours, wind, and temperature to the species' requirements. A pot allows you to move the planting, but it still needs appropriate light and free drainage.
How to choose a pot and medium
The most important rule is an open drainage hole. A layer of gravel at the bottom is not a substitute for a drainage hole. Choose a container deep enough for the planting depth shown on the packaging, plus extra room for roots and medium beneath the bulb. When planting densely for seasonal blooms, bulbs can be placed closer, but not touching each other or the sides.
Amaryllis, tulip, cyclamen, ranunculus, calla lily, and squill are not the same type of storage organ and are not planted in the same way. A general table could be misleading. Take the precise depth from the packaging and the specific product instructions.
Planting in a pot — step by step
- Ensure drainage: Make sure the holes are clear and place the pot in a location where water can exit without pooling.
- Fill with medium: Use a clean, well-draining potting mix. Fill to a height that allows for the required planting depth.
- Position: Place each bulb or corm in the correct orientation. Do not force it down or damage the growth point.
- Cover: Add medium according to the depth shown on the packaging and pat down gently, without compacting the medium into a solid mass.
- Water: Water until water flows out of the drainage holes, empty any standing water, and continue thereafter according to the moisture of the medium, not a set schedule.
Simple planting kit
Three things cover most of the work: well-draining medium, a container with a drainage hole, and a small hand tool. Choose the size of the medium and the pot according to the quantity and species you are planting.
What to do after planting
- Check moisture at a shallow depth with your finger. Water when the medium begins to dry out according to the species and weather; do not leave the pot sitting in water.
- Do not add water just because a set number of days has passed. Cold, rain, wind, sun, and pot size all change the drying rate.
- When a shoot appears, continue to provide the amount of light suitable for the species. A long, pale, and weak shoot can indicate a lack of light.
- Do not remove green foliage immediately after flowering. It continues to nourish the storage organ; wait for natural yellowing and act according to the species' instructions.
Want to see what the bloom looks like?
In five of our bulb pages, we have added a demonstration video of the bloom. The video shows the type of flower; the actual hue, size, and rate of development depend on the planting material and growing conditions.
Frequently Asked Questions
Ready to choose your blooms?
Browse the bulb collection, and for each product, check the exact season, depth, and care requirements.
View all bulbs🛒 המוצרים מהמדריך
הצמחים והמוצרים שהמדריך מדבר עליהם — לחיצה על כרטיס מעבירה לעמוד המוצר.
-
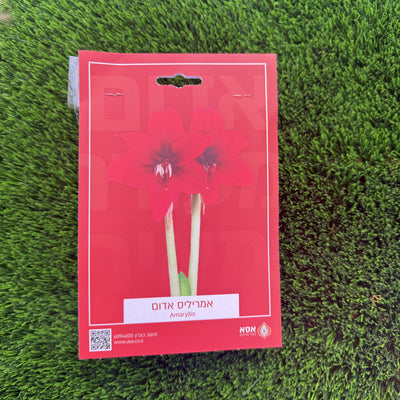 Red Amaryllis for planting – 1 bulb
25.00 ₪לעמוד המוצר
-
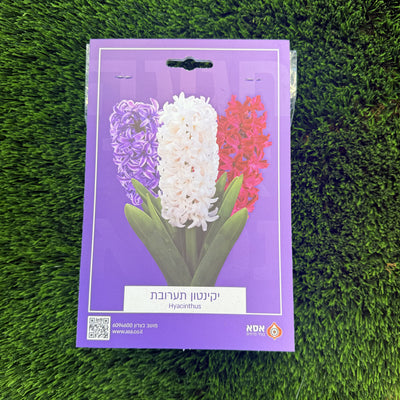 Hyacinth planting mix – 3 bulbs
25.00 ₪לעמוד המוצר
-
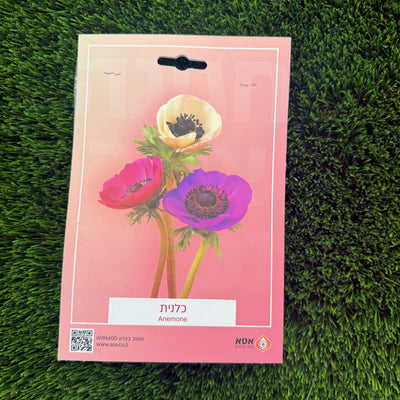 Anemone mix for planting – 10 bulbs
25.00 ₪לעמוד המוצר
-
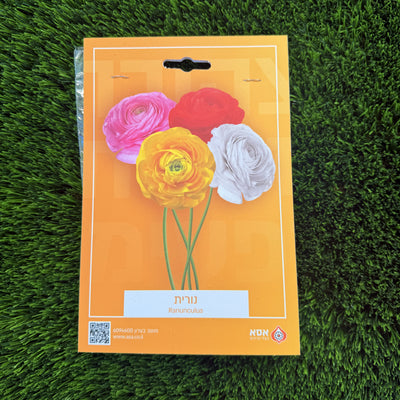 Ranunculus planting mix – 10 bulbs
25.00 ₪לעמוד המוצר
-
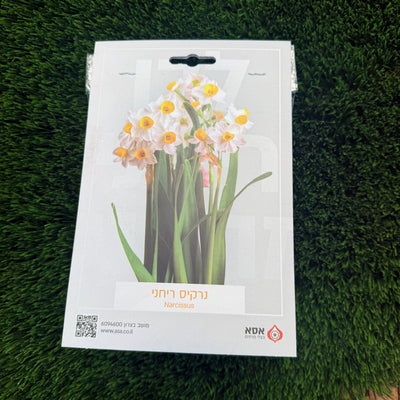 Fragrant Chinese Narcissus for planting – 5 bulbs
25.00 ₪לעמוד המוצר
-
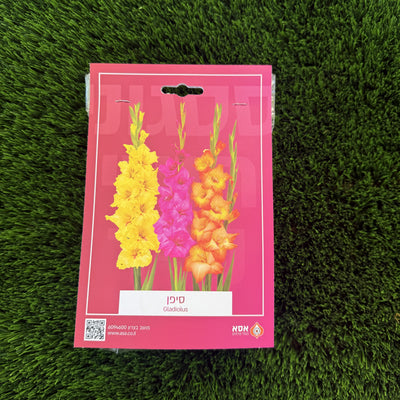 Gladiolus planting mixture – 5 corms
25.00 ₪לעמוד המוצר
-
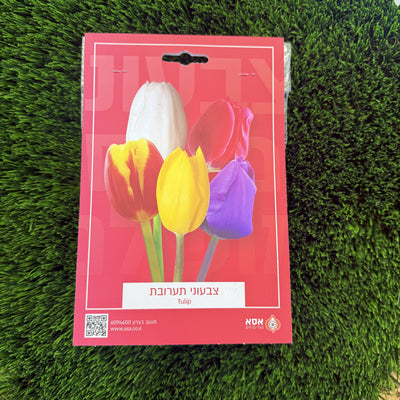 Tulip mixture for planting – 5 bulbs
25.00 ₪לעמוד המוצר
-
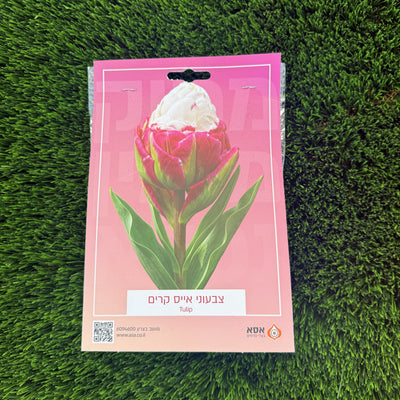 Tulip Ice Cream for planting – 5 bulbs
25.00 ₪לעמוד המוצר
